
- Everybody
- Kids
- 20 min
What you need:
Connector 12 colours, Pitt Artist Pen black
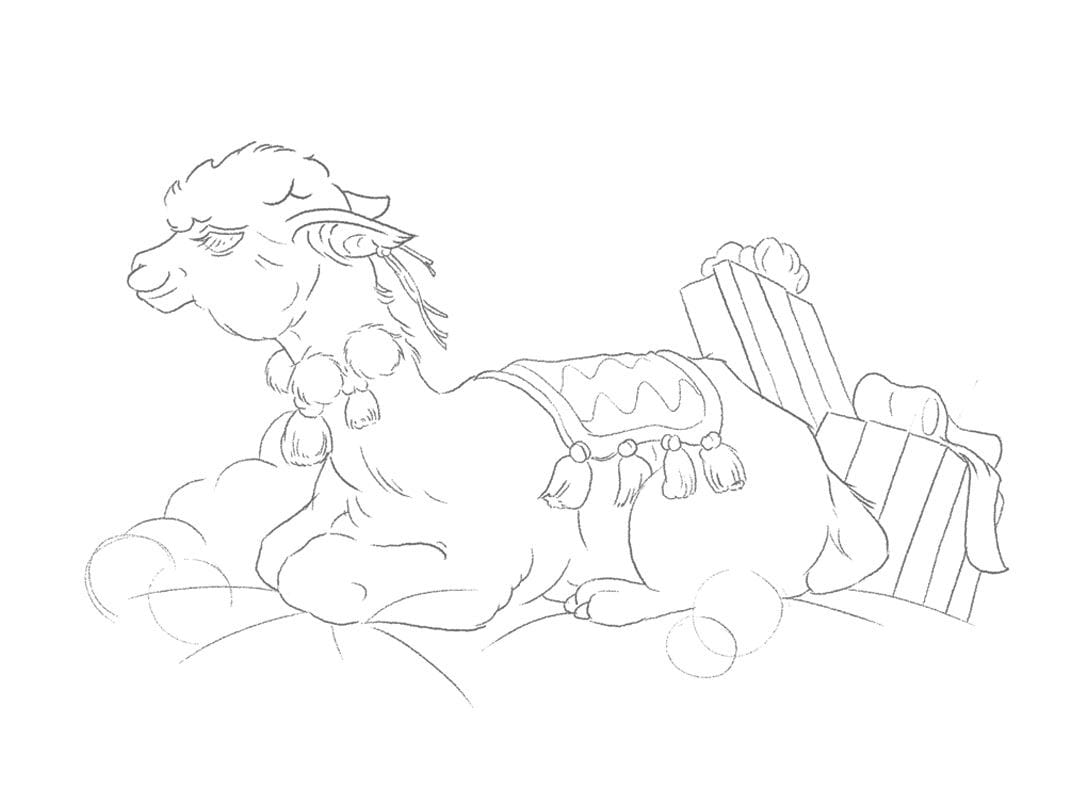
Template

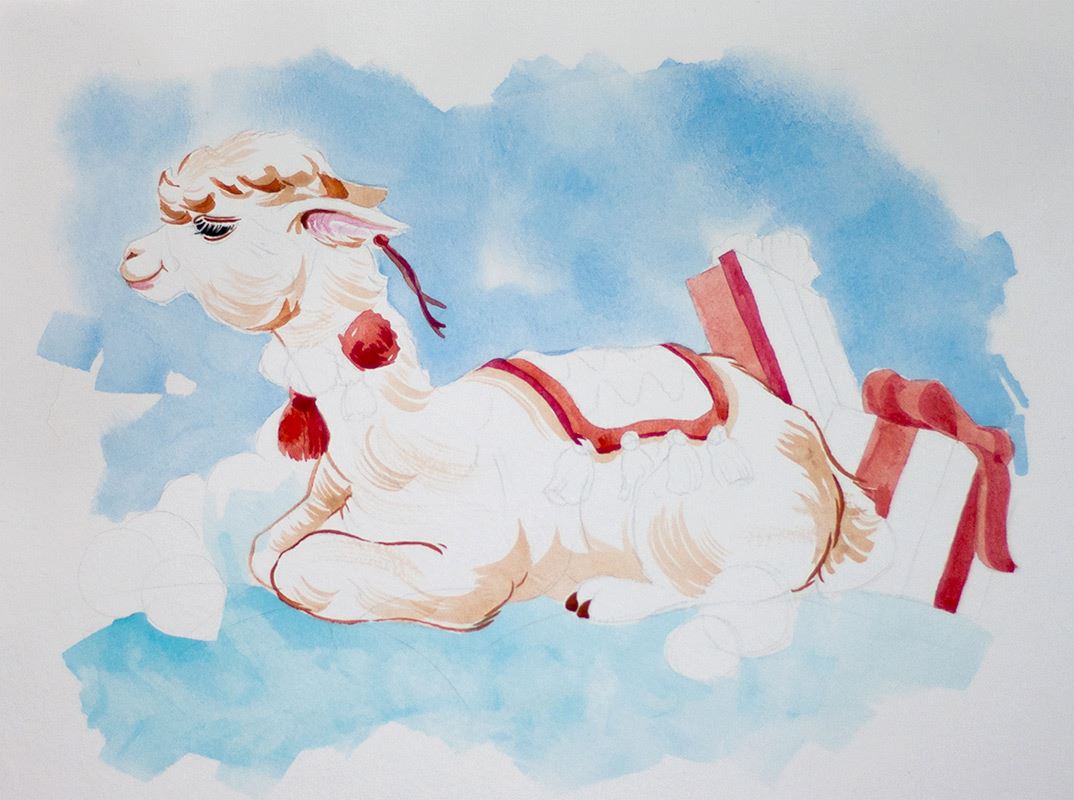
Step 1
Start by painting the background. For this, use the dark blue with lots of water at the top of the picture and use the lighter blue at the bottom in the snow.

Step 2
Even if the alpaca is white, you can still add accents in a different colour. For this, take a thin brush and paint on brown fur in some areas. Use lots of water. When the paint is dry, use the same brush and the same colour to paint a few darker areas, with only a little water.
Step 3
Use a bit of pink in the alpaca’s ear and mouth. Use lots of water and a little pink paint here. To emphasize the long eyelashes of the alpaca, don’t just paint the eye in black - paint lines from top to bottom. Don’t apply pressure at the top and apply a little pressure at the bottom. It’s best to try this on a blank piece of paper first so you see how it works.
Step 4
Now paint a few areas in red. Ensure that they are not located immediately next to each other. Use more or less water to make the areas lighter or darker. Mix a tiny bit of purple in with the red to make it look even darker.
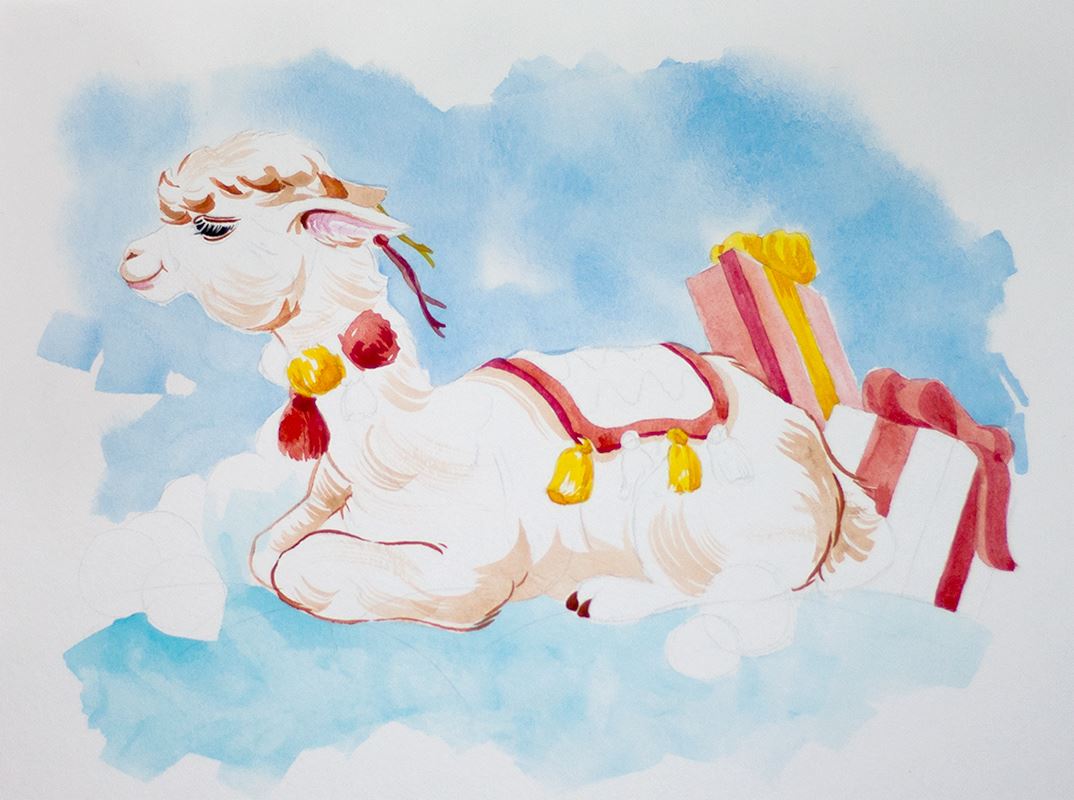
Step 5
Now repeat the last step with yellow paint. This colour can be darkened by adding a little red to the yellow.
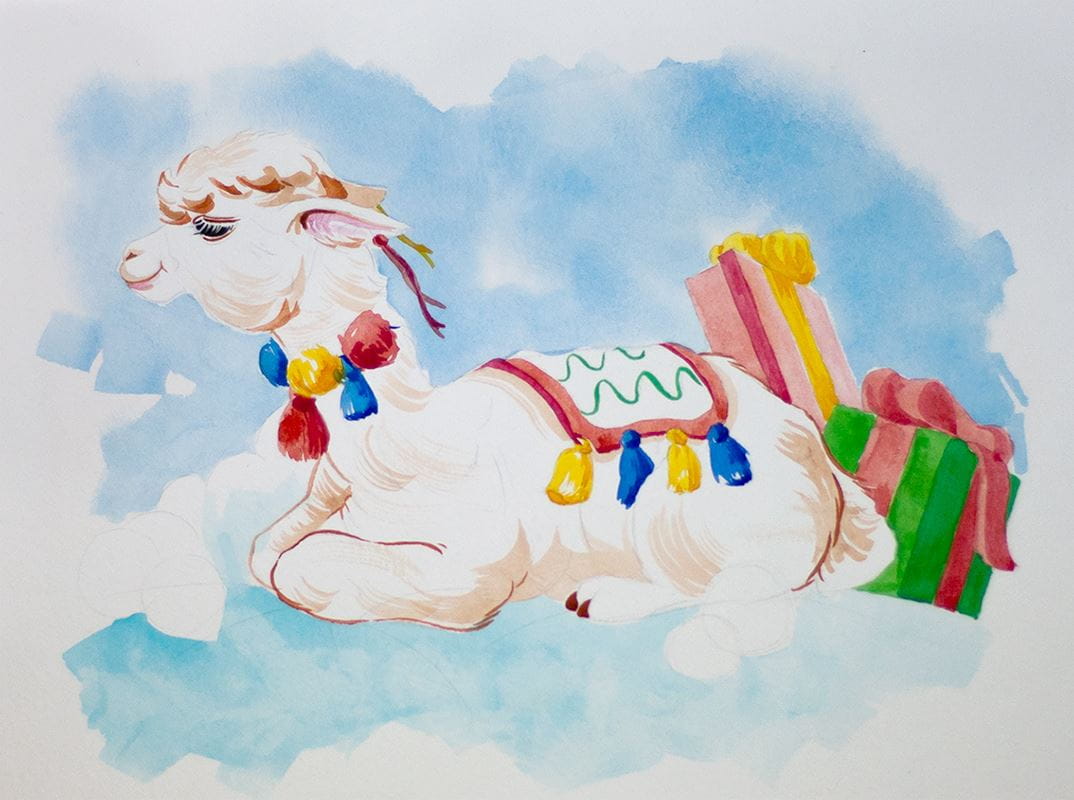
Step 6
Use blue and green to add vibrant colour to your alpaca and make it clearly visible in the snow.
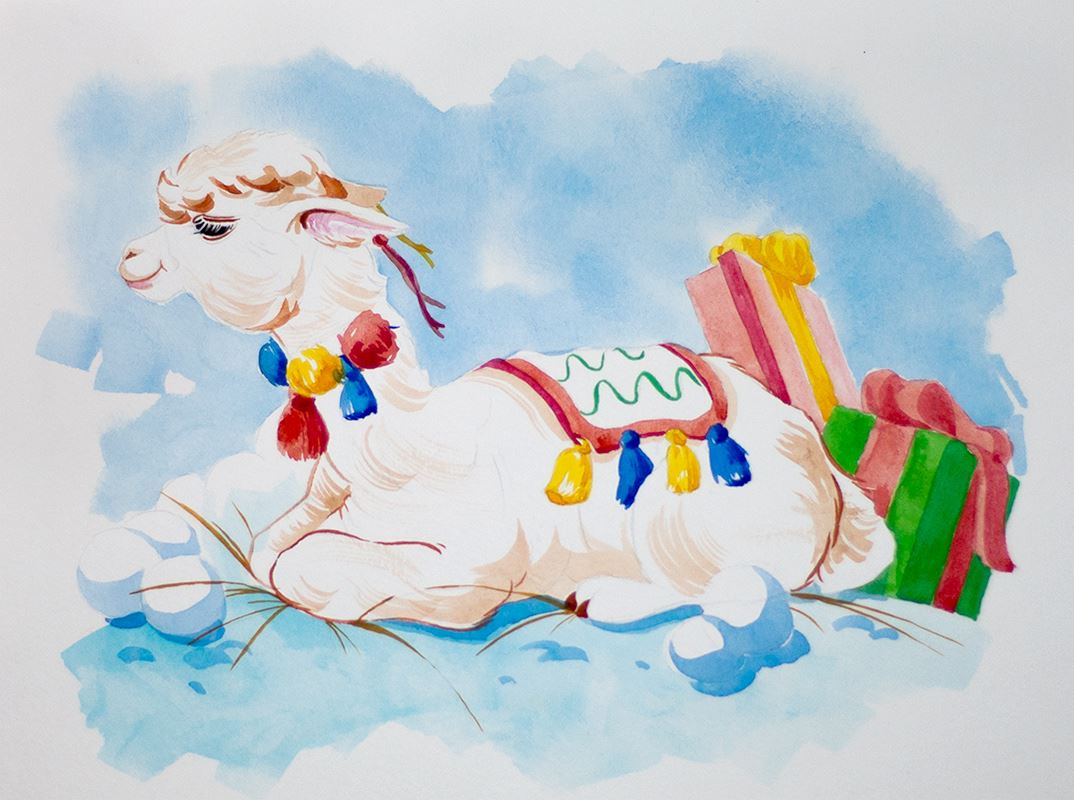
Step 7
The picture will look more natural if you paint blue shades under the alpaca and on the snowballs. And you can use the thin brush and light brown paint to add a few bits of straw so that the alpaca has somewhere cosy to lie.
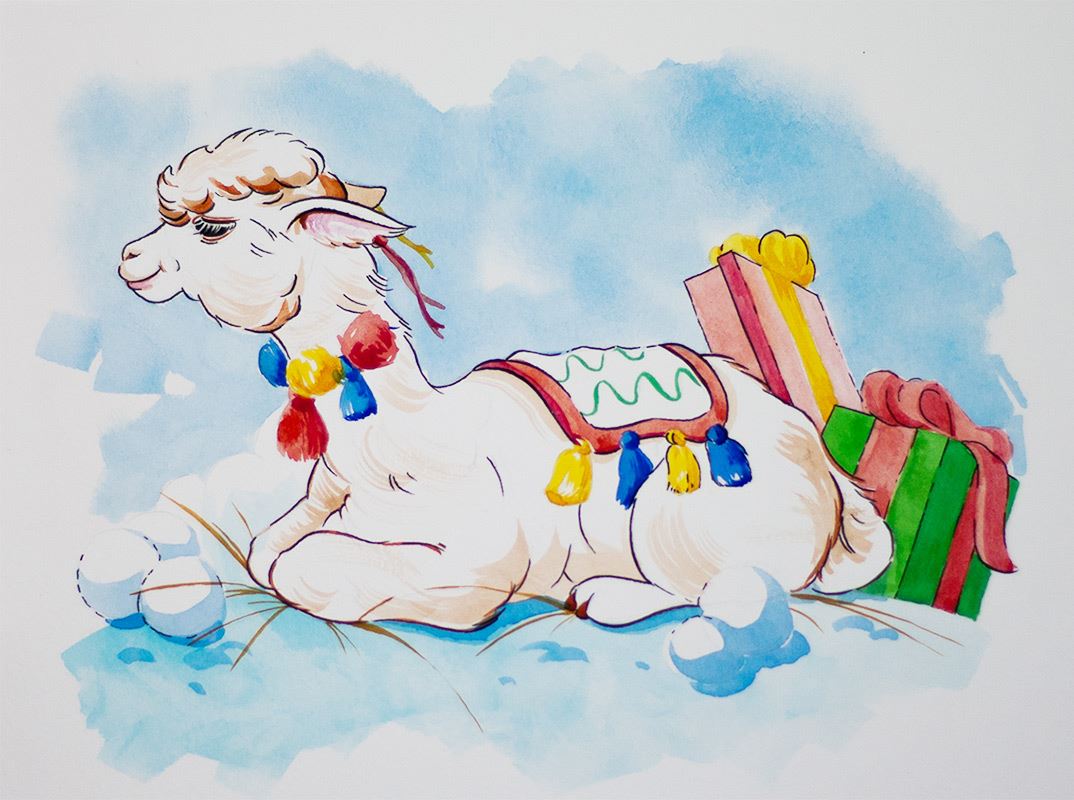
Step 8
Finally, trace over the drawing lines with a thin, black felt-tip pen. Ensure that the lines are not all drawn from start to end - a few gaps in the line indicate fur more effectively.
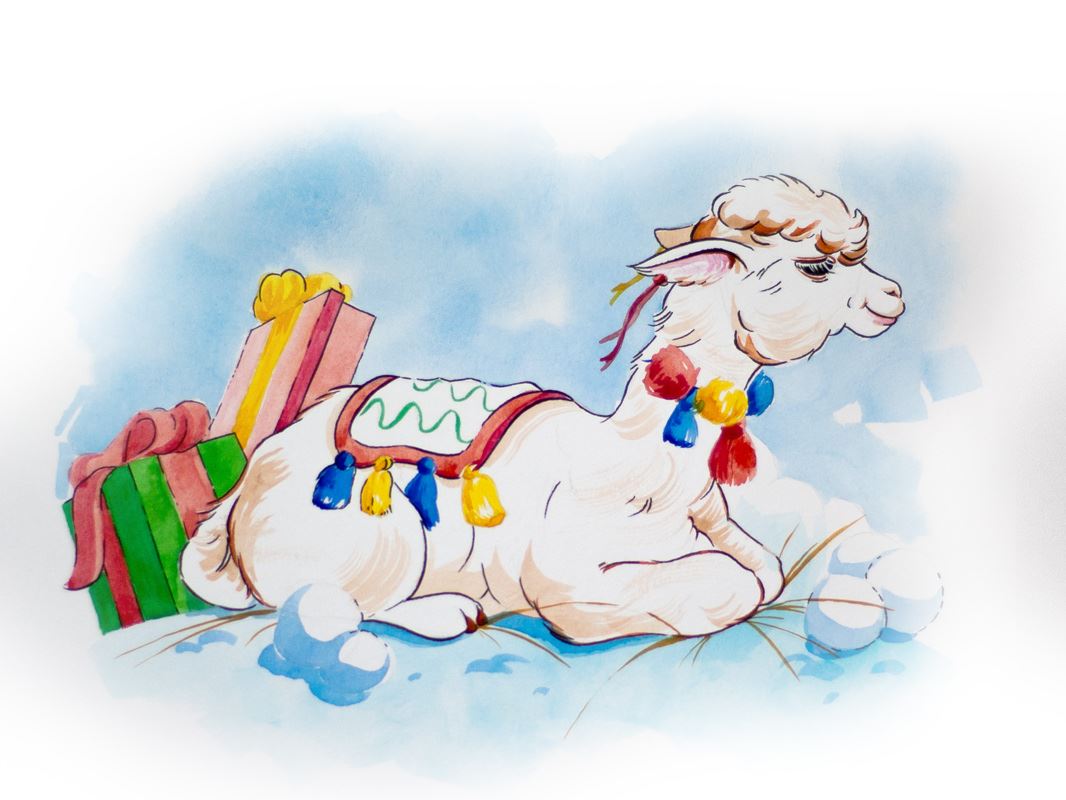
This Christmassy painting tutorial with our watercolour paints is perfect for the festive season!
This Christmassy painting tutorial with our watercolour paints is perfect for the festive season!